
Flutterのフッターにナビケーションボタンをつける方法を記す。イメージとしてはこんな感じ。

実装方法
① Scaffold中にbottomNavigationBarを設定する。
② bottomNavigationBarにBottomNavigationBarを設定する。
  @override
  Widget build(BuildContext context) {
    return Scaffold(
      bottomNavigationBar: BottomNavigationBar(),
    );
③ BottomNavigationBarにBottomNavigationBarItemを設定する。この時items[ ]は必須パラメータであり、BottomNavigationBarItemのicon、labelも必須パラメータである。
bottomNavigationBar: BottomNavigationBar(
        items: const [
          BottomNavigationBarItem(icon: Icon(Icons.home), label: "ホーム"),
          BottomNavigationBarItem(icon: Icon(Icons.search), label: "検索"),
          BottomNavigationBarItem(icon: Icon(Icons.account_circle), label: "マイページ")
        ],
),
ここまでを設定することで、画像のようなフッターが作成できる。ここで選択されている時のフォントを大きくしたい場合、選択されていない時の設定したい場合は、selectedFontSize、unselectedFontSizeのオプションを設定すれば良い。
BottomNavigationBar(
        items: const [
          BottomNavigationBarItem(icon: Icon(Icons.home), label: "ホーム"),
          BottomNavigationBarItem(icon: Icon(Icons.search), label: "検索"),
          BottomNavigationBarItem(icon: Icon(Icons.account_circle), label: "マイページ")
        ],
      selectedFontSize: 12,
      unselectedFontSize: 10,
    );
これらの設定だけでは、メニューを切り替えた時の表示画面を変更することはできない。押したメニューに対してページを切り替えるにはcurrentIndexプロパティを使用して、選択しているメニューを把握する。
class _MyHomePageState extends State<MyHomePage> {
  int pageIndex = 0;
  List<Text> contents = const [Text("Home"), Text("検索"), Text("マイページ")];

  @override
  Widget build(BuildContext context) {
    return Scaffold(
      appBar: AppBar(
        title: const Text("App"),
      ),
      body: Center(
          child: contents[pageIndex]
      ),
      bottomNavigationBar: BottomNavigationBar(
        items: const [
          BottomNavigationBarItem(icon: Icon(Icons.home), label: "ホーム"),
          BottomNavigationBarItem(icon: Icon(Icons.search), label: "検索"),
          BottomNavigationBarItem(icon: Icon(Icons.account_circle), label: "マイページ")
        ],
        currentIndex: pageIndex,
        onTap: (int index){
          pageIndex = currentIndex;
          setState(() {});
        },
      ),
    );
  }
}
フッターのメニューがタップされると、それに応じたindexがcurrentIndexになる。この例の場合、左から割り振られるためホーム=0、検索=1、マイページ=2となる。つまりホームをタップするとcurrentIndexが0になり、マイページをタップすると2になると言った具合である。そしてページのbodyに設定しているcontentsをindexで切り替えることで、フッターのメニューに応じたページに切り替えられるのである。
補足
色々なpackageがあるので、そっちを使用してみても良いかもしれない。(デザインがオシャレだしね!ここでは、likeが多い3つを挙げておく。
- convex_bottom_bar
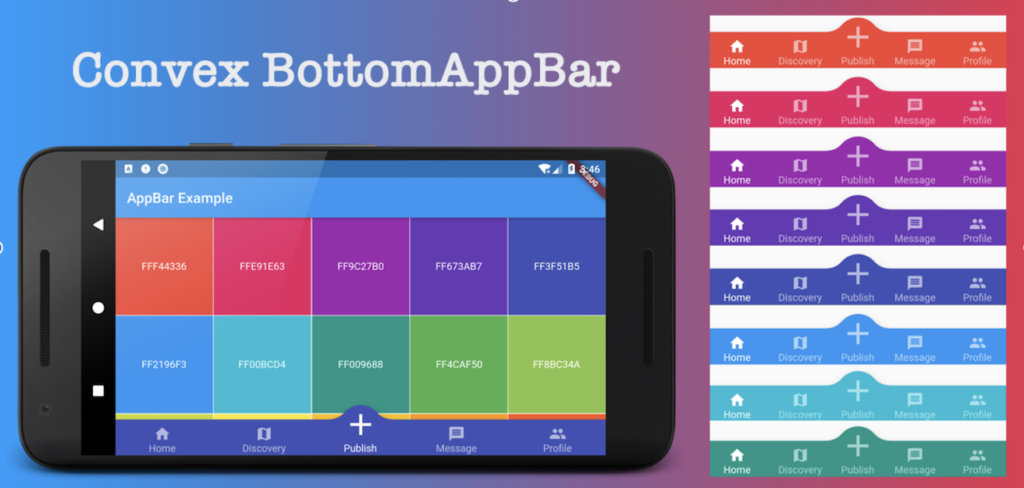

- persistent_bottom_nav_bar
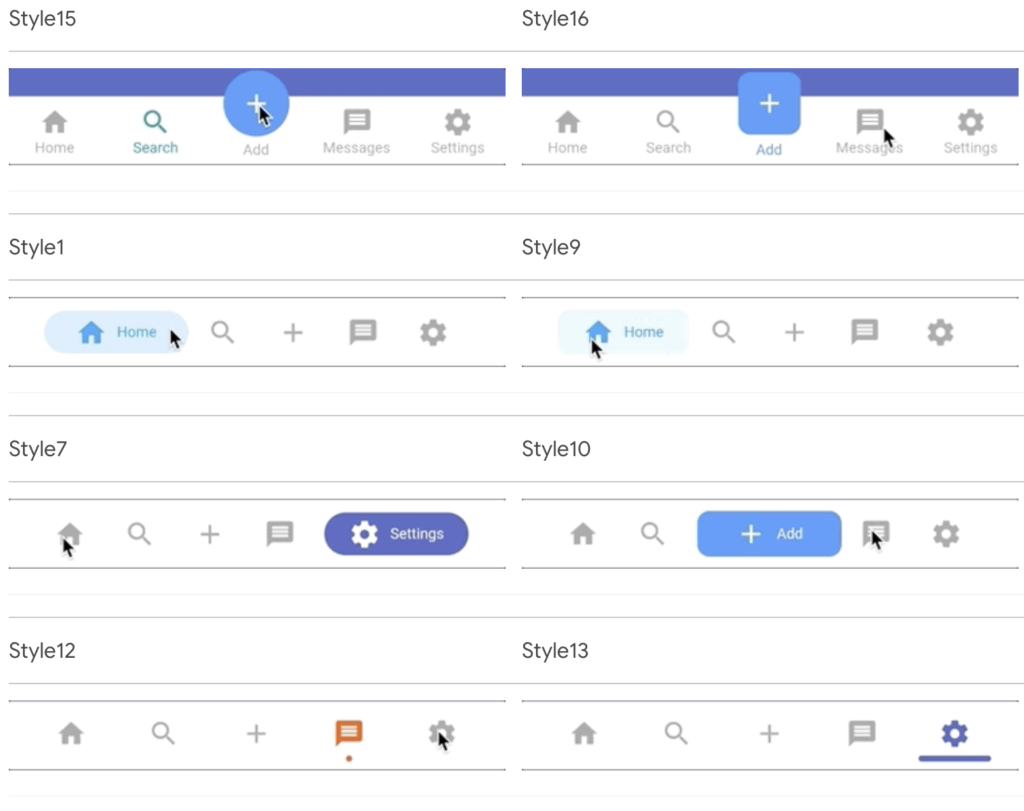
- curved_navigation_bar
まとめ
フッターにナビゲーションバーを実装したい時は、BottomNavigationBarを使えばよ良い。簡単にフッターボタン追加できるのはとても便利だな〜!!!
コメント